


Disclaimer: This article is for informational purposes only and does not constitute professional advice. Always consult a qualified contractor or turf installation expert before making any decisions related to your property or landscaping project.
A professional turf installation delivers three key results: the surface appears natural, drains properly and performs consistently for years. Those results are not accidental. They rely much more on planning and site evaluation than mere turf rollout.
If you’re thinking about making the switch, whether to cut lawn maintenance, improve usability or ameliorate water woes, knowing what transpires before installation starts can safeguard your investment and save you from issues that could have been mitigated down the line.
Have questions about this story?
Ask Tundra for more details, context, or updates.
Planning & Site Evaluation: The Real Foundation
Most guides focus on installation steps. In reality, long-term performance is determined during site evaluation, and this is where the experience and equipment of a professional installer make a measurable difference.
Ground preparation is not just a technical step; it’s what prevents buckling, shifting, pooling water, and premature seam stress. Soil type plays a major role here. Clay-heavy soils retain water and may require enhanced drainage support. Sandy soils drain quickly but can shift if not stabilized correctly. Expansive soils may move seasonally, affecting the surface above. Proper assessment often requires the experience and equipment to identify how the ground will behave over time, not just on installation day.
Drainage planning is equally critical. Even minor grading errors can allow water to collect beneath the turf system, leading to sagging or odor issues over time. Achieving the correct slope and base stability typically depends on using the right equipment and understanding how water will move across the site.
Sun exposure also deserves consideration. Full-sun areas experience greater surface heat and expansion cycles, while shaded spaces may dry more slowly after rainfall. Evaluating sunlight patterns helps determine product selection and realistic performance expectations.
Even lawn removal can present complications. Established root systems, buried debris, irrigation lines, and uneven subsoil often introduce variables that only become visible once work begins — situations where the experience and equipment of trained installers help prevent costly surprises.
When Professional Installation Makes More Sense
There are quite a few cases where the risk is significant and artificial turf isn’t particularly complicated, but complicating conditions really drive up risk.
Professional installation is especially advantageous where the surface area is large, the terrain uneven, drainage complex or where heavy foot traffic will be expected. Turf systems used in play areas, pet zones, and other commonly travelled assembly spaces have structural requirements that must be met with exact grading, compaction, seam alignment and edge anchoring.
While some small, flat areas may be sufficient for experienced DIY homeowner street cred, complex environments
Long-Term Performance: What Most Articles Don’t Cover
Installation day is only the beginning. How turf performs over time is what truly determines value.
Compaction naturally occurs in high-traffic areas. If the base was not properly prepared, depressions may appear months later. Seam visibility can increase if alignment is slightly off or if ground movement places stress on connection points. Edge lifting may develop where anchoring was insufficient or where expansion and contraction cycles were underestimated.
Heat retention is another consideration, particularly in warm climates. Surface temperatures may rise significantly in direct sunlight, and material selection influences how noticeable this becomes. Infill distribution also affects stability and fiber support over time, and periodic maintenance may be required to create even surface .
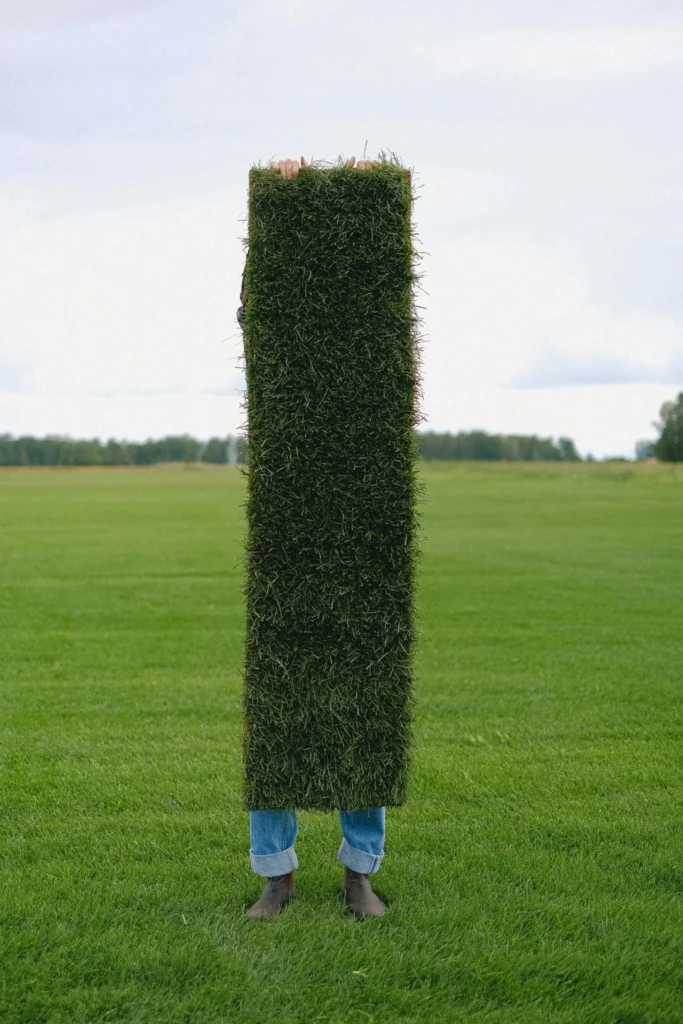
Choosing the Right Type of Turf for Your Space
There are dozens of turf products on the market, and each one is different. Some work better in high-foot-traffic areas, others are soft and good for bare feet or children’s play. Some options are more natural; others are specifically designed for pets, sports, or commercial use.
This depends on how you plan to use the space and what kind of feel you want underfoot, so a turf installer can help with this decision. They’ll also consider how much direct sunlight the area gets.
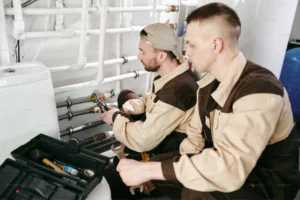
Preparing the Site for Installation
Prep includes removing existing grass or debris, grading the ground for proper water runoff, and compacting the soil to create a stable base.
A complete check-up is also needed at this stage. The underlying issues, like poor soil drainage or irrigation lines, will need to be capped or rerouted. Skipping these steps is one of the main reasons DIY turf installs fail.
Climate Matters More Than Most People Realize
Artificial turf differs in behavior depending on the regional conditions.
In hot climates, long exposures to UV and heat cycles can speed up material expansion and raise surface temperatures. In high-rainfall locations, drainage capacity is the key performance metric. Frost-prone areas and freeze-thaw movement can stress seams and edges. Gardens that are heavily shaded may take longer to dry out and will also accumulate more debris.
Assessing climate compatibility ahead of installation helps mitigate premature wear and unforeseen maintenance demands.
Common Installation Mistakes That Impact Longevity
Many turf issues stem from avoidable oversights during preparation.
Insufficient base compaction, poor seam alignment, uneven infill distribution, improper edge anchoring, and failure to meet drainage slope requirements are among the most common causes of early failure. These problems rarely appear immediately. They tend to surface after seasonal weather shifts or sustained use.
A well-executed installation focuses as much on what remains unseen beneath the surface as on the finished appearance.
What Actually Drives Installation Costs
Rather than saying “cost varies,” it’s more accurate to understand what influences it.
Ground preparation complexity, site accessibility, turf quality, drainage requirements, labor time, and overall site condition all affect the final investment. A flat, accessible yard with stable soil requires far less preparation than a sloped or poorly draining space.
Clear evaluation at the beginning helps avoid cost surprises later.
Environmental Considerations: A Balanced View
Artificial turf offers measurable water savings and eliminates the need for fertilizers, mowing emissions, and many seasonal maintenance inputs. At the same time, it can retain more surface heat than natural grass and is made from synthetic materials with a defined lifespan.
Understanding both benefits and trade-offs allows homeowners to decide whether turf aligns with their climate, priorities, and long-term plans.
Final Thoughts: Success Depends on Fit, Not Just Installation
Artificial turf can deliver a consistent appearance, reduced maintenance, and year-round usability. But it is not automatically the right solution for every property.
Planning determines success. Installation quality affects longevity. Climate and lifestyle influence suitability.
When those factors are carefully evaluated, turf can perform well for years. When they’re overlooked, even high-quality materials may struggle.
The difference is rarely the product itself; it’s the preparation behind it. eighths the initial cost. If done right.