


Transforming a plain wall into a stunning focal point is easier than you think with Wall décor panels. With various materials and designs available, installing them can instantly enhance the look of any room. This guide will walk you through the process of installing decorative wall panels like a pro.
1. Gather Necessary Tools
Before you begin the installation process, it’s essential to gather all the necessary tools. Having everything ready will help to make sure the job goes smoothly, saving you time and effort in the long run. Start by collecting the following:
- Measuring Tape: To measure the height and width of the surface accurately, the panels must fit perfectly.
- Level: The paneling must be straight, so it doesn’t look crooked or misaligned.
- Pencil: To mark guidelines on the surface for accurate placement.
- Cutting Tools: Depending on the material of your panels, you may need a saw or utility knife for trimming.
- Adhesive and Caulking Gun: For glue-based installations, the adhesive will hold the panels in place. A caulking gun is used to apply the adhesive evenly.
Screws and Drill: If you’re installing heavier panels or prefer using fasteners, screws and a drill will be necessary. - Sandpaper: If you need to cut the paneling, sandpaper will smooth out any rough edges.
Clean Cloth: For wiping off excess adhesive or cleaning dust off the surface before installation.
By gathering these tools beforehand, you’ll be ready to get started without any interruptions.
2. Prepare the Wall Surface
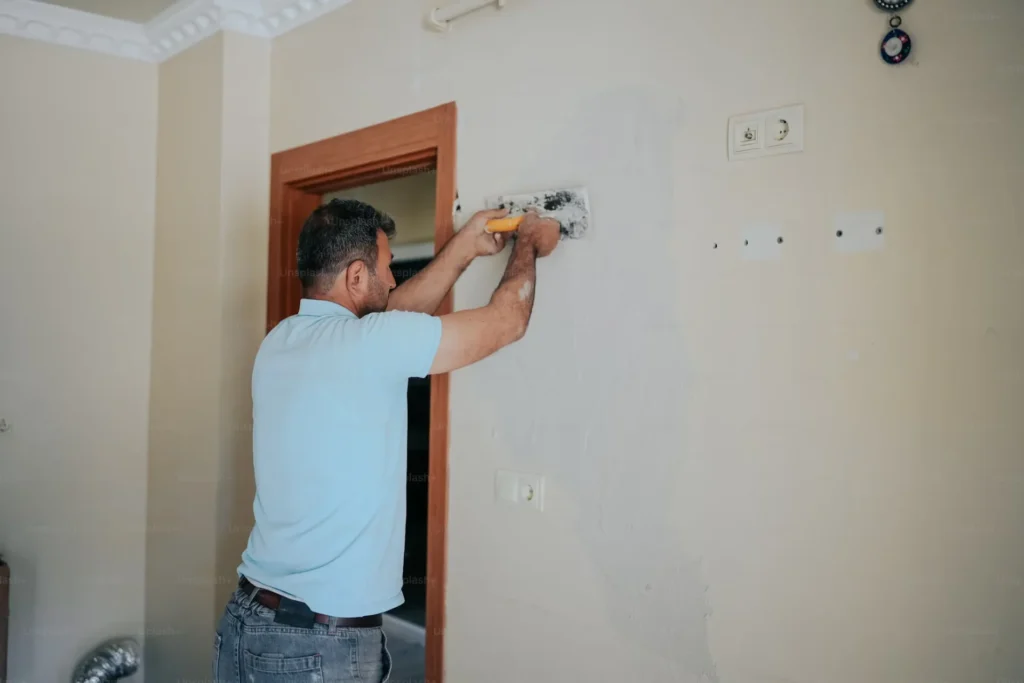
A clean and smooth surface is critical for a successful panel installation. Proper preparation will make sure the surfacing stays secure and adheres well to the focal wall. Here’s how to prep your wall:
- Clean the Wall: Use a damp cloth or mild cleaning solution to wipe down the surface, removing dust, dirt, grease, or stains. A clean surface allows the adhesive to bond better.
- Remove Obstacles: Take off any old nails, screws, or peeling paint. Fill any holes or cracks with a wall filler or patching compound, then let the surface dry completely before continuing.
- Smooth the Surface: If the focal wall has uneven areas, use sandpaper to smooth it out. A smooth, level surface is essential for a seamless installation.
- Drying Time: If you’ve painted the focal point recently, wait until the paint is fully dry before starting the installation process. Fresh paint can interfere with the adhesive.
A clean, dry, and even wall helps your panels to stay in place and maintain their appearance for years.
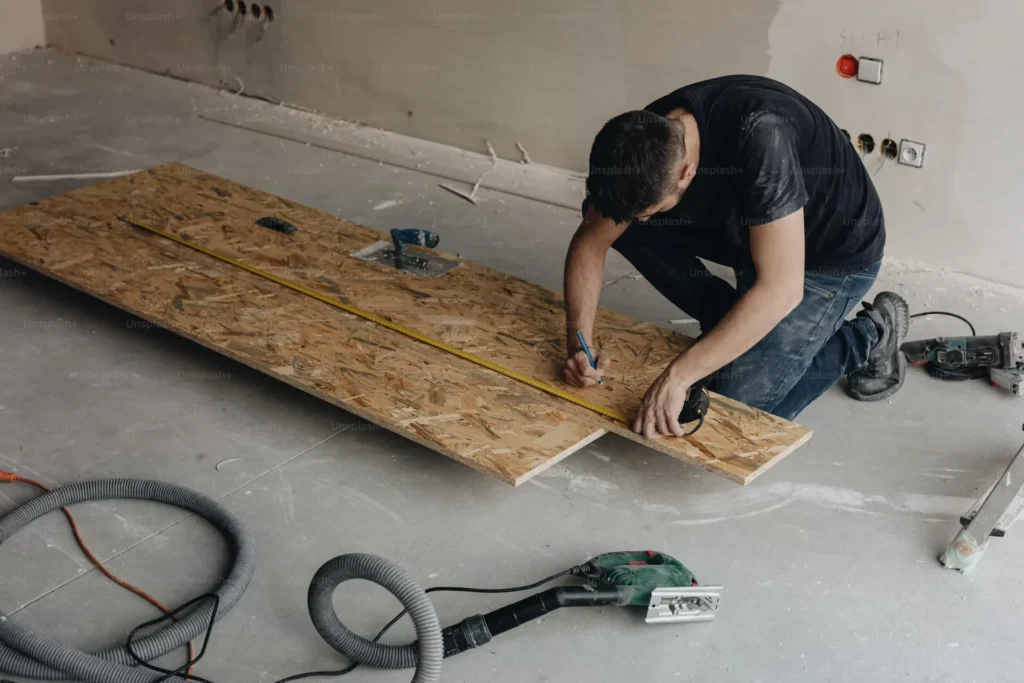
3. Measure and Cut Panels
Taking accurate measurements is key to panels fitting correctly. Here’s how to get it right:
- Measure the Wall: Use the measuring tape to determine the exact height and width of the wall. Take note of any irregularities or obstacles, such as windows, outlets, or doors, that may affect panel placement.
- Mark Guidelines: Use a pencil to mark the focal wall where each panel will go. It’s best to start from one side and work your way across so that the installations will align properly.
- Cut the Panels: Once you have the measurements, transfer them onto the paneling. If the installations need to be trimmed, carefully use a saw or utility knife to cut them. Go slow and steady to avoid rough edges or mistakes. If you’re cutting multiple panels, always double-check measurements for consistency.
- Test Fit: Before applying any adhesive or fasteners, place the paneling on the wall to test the fit. This helps you align the surfacing properly with your markings. If adjustments are needed, trim the edges slightly and sand down any rough cuts for a smooth finish.
This step is crucial for achieving a neat and professional look once the installations are complete.
4. Apply Adhesive or Fasteners
The method of attaching your panels will depend on the type of material you’re working with and your wall’s surface. Here’s how to apply adhesive or fasteners:
- Adhesive: For smooth, clean walls, adhesive is an effective and simple option. Apply the adhesive in a zigzag or dot pattern on the back of the panel. Once applied, press the panel firmly against the focal wall and hold it for a few seconds to make sure a good bond. Some adhesives may require a few hours to dry completely, so be patient and avoid disturbing the surface during this time.
- Fasteners: If you’re using screws or nails, mark where the fasteners will go and use a drill or hammer to attach the façades securely. Space the screws or nails evenly for even support. Be careful not to overtighten, as this could damage the surfacing. Make sure the fasteners go in at the appropriate points for maximum hold.
Choose the method that works best for your wall and the type of panels you’ve selected.
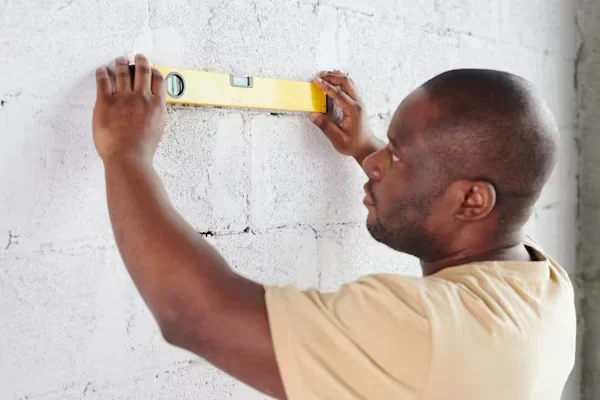
5. Confirm Proper Alignment
Achieving perfect alignment is essential for a professional finish. To make sure your panels look straight and cohesive:
- Use a Level: Before securing each panel, use a level to check that it’s aligned properly. If a panel is slightly off, you can adjust it before the adhesive sets or before fully tightening the fasteners.
- Match Patterns: If your panels have patterns or textures, make sure the designs align correctly from one panel to the next. Small misalignments can be noticeable, so it’s essential to get this right.
- Step Back and Check: If you’re working with large panels, take a step back periodically to view the entire wall. This will help you spot any mistakes early and fix them before continuing.
- Fill Gaps: If you notice any gaps between the panels, use caulk or filler to seal them. This creates a seamless look, and the installations stay secure.
Upgrade Your Space with Decorative Wall Panels
With careful planning, precise measurements, and proper installation, Wall décor panels can transform any room into a stylish, eye-catching space. Whether you’re installing wood, fabric, or 3D panels, following the steps outlined above will help you achieve a polished, modern look that enhances the aesthetics of your home or office. You can also explore creative half-wall paneling ideas to inspire your installation project and enhance the overall design.
By taking the time to properly prepare your wall, measure your panels, and install them securely, you’ll enjoy the benefits of a beautiful new design that adds depth and character to your surroundings. Whether you’re looking to make a bold statement or add subtle elegance, decorative wall panels are an easy and effective way to elevate your space.