


Imagine transforming a dull wall into a striking focal point with the sleek and modern appeal of metal wall art. Whether you’re looking to add a touch of elegance or create a bold statement, installing metal art can elevate your space instantly. This blog will guide you through the steps to properly install metal wall art properly, ensuring it’s secure and displayed to its full potential.
1. Tools and Materials Needed
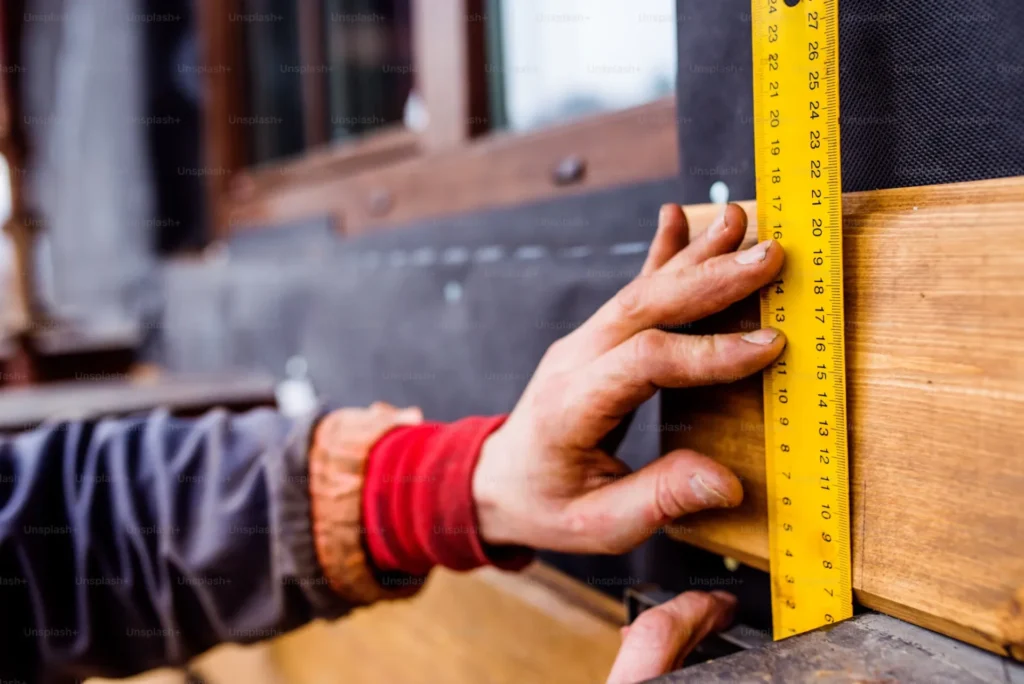
You won’t just need a tape measure to ensure the art is centered on the wall, a pencil to mark where you’ll drill, and a level to ensure your art is perfectly straight. You’ll also need some wall anchors and screws to attach the art securely in place, so it doesn’t shift or sag over time.
These will give you extra support and make it unlikely that you will cause damage if your Metal Wall Décor is especially heavy or oversized. Once the anchors are in place, a screwdriver is required to tighten the screws, ensuring that everything is secure. You may also need a stud finder to provide the most secure and transparent mount on sturdy wall studs. This is particularly helpful when hanging larger or more valuable pieces of Wall Décor.
2. Choosing the Right Location
Either way, decide where you want the Metal Wall Décor to be. Managing the size of the wall within the context of the surrounding space can help avoid overcrowding in the area, making the room feel full but visually unbalanced. As a general rule, hang Metal Wall Décor at eye level, which is usually around 57 to 60 inches from the floor, keeping it in view and naturally attracting attention when you walk into the room.
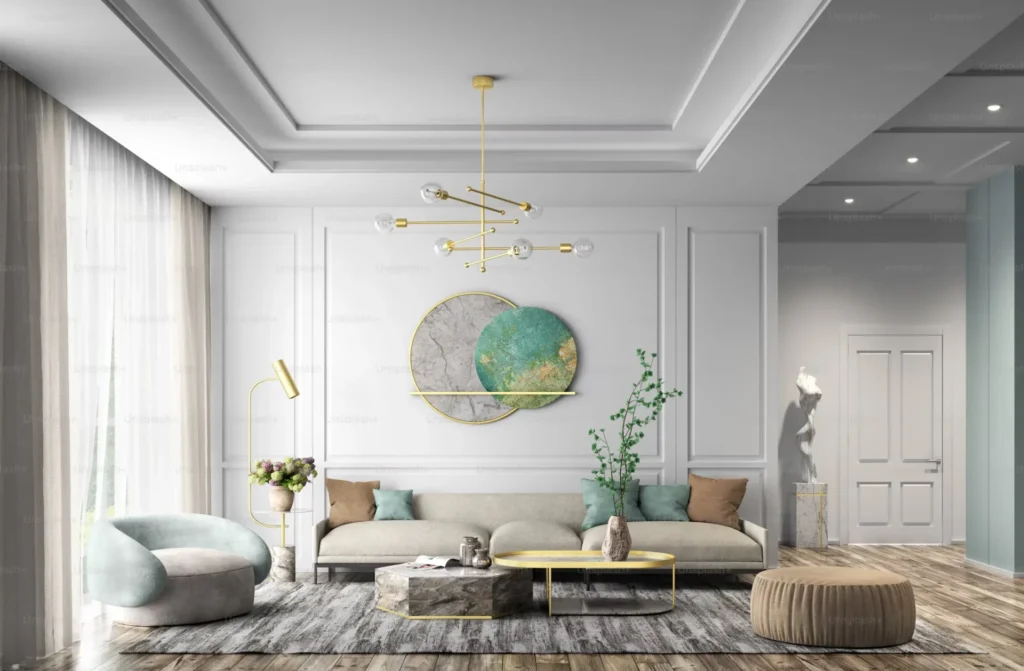
Consider the decor around it, the color palette, and whether the metal piece will blend in or stand out against the rest of the room. You might also try not to put it directly over furniture that people lean against or in high-traffic areas where it might be bumped into or accidentally damaged.
Take a tape measure and identify the center of the wall or space. Then, lightly make a mark at that point with a pencil. It will be your point of reference for where to install the art, to help ensure symmetry and alignment with other design elements.
3. Drill Holes and Insert Anchors
With a tape measure, mark the places where you plan to drill, relative to the hardware on the back of the Metal Wall Décor. You may want to double-check your spacing and alignment before drilling any holes. For heavy art, it’s best to drill into the wall’s studs for extra support to prevent sagging or damage over time.
Confirm the stud location using a stud finder before drilling. If the area where you’d like to hang the Metal Wall Hanging doesn’t have studs, as is familiar with drywall or plaster, use wall anchors to ensure the screws can hold the weight of the artwork.
Next, use the proper drill bit for the type of wall you have (for instance, masonry drill bits for brick or concrete walls, and wood drill bits for wooden walls). Gently drill the holes at the noted spots. In the case of drywall, push the wall anchors you prepared into the holes you drilled so that they sit flush with the wall surface, and then insert the screws to ensure that everything is held tightly in place.
4. Mount the Metal Art Securely
Hold the artwork up to the wall and align the hanging hardware on the back with the screws or hooks you’ve installed. If the metal art has hooks or keyholes on the back, slide these onto the screws, making sure they’re securely in place.
For larger or heavier art, it may be helpful to have a second person assist you in holding the piece while you secure it. Once the art is mounted, tighten the screws or hooks to make sure it doesn’t move.
5. Adjust as Necessary
Sometimes the art may need a tiny tweak to look its best, especially once it is up and you see it in context. If it isn’t straight, use the level again to ensure the damn thing’s straight. Please don’t trust your eyes alone, as we can be subject to visual illusions. You might also consider tweaking the height or shifting the position slightly to create the most aesthetically pleasing balance with the rest of the room’s decor, lighting, and furniture arrangement.
If the art seems loose or wobbly, inspect the screws, anchors, and mounting brackets to make sure they’re tight and properly fitted. For huge/heavy metal pieces, consider multiple added hooks or anchors, or for long-term stability, wall brackets can be an option. Taking this extra step can help prevent accidents and keep your wall hanging intact for years to come. You can also explore more DIY wall art projects to personalize and elevate your space even further.
Enjoy Your Newly Installed Piece of Art
With the proper installation, your wall panels and art will not only enhance your space but also bring lasting beauty to your home. Keep your pieces well-maintained and let them continue to inspire your surroundings for years to come.